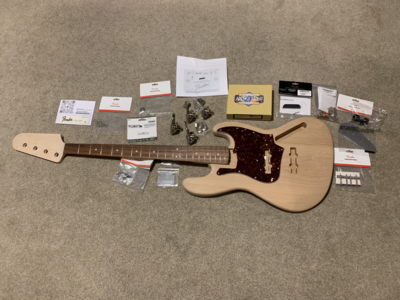
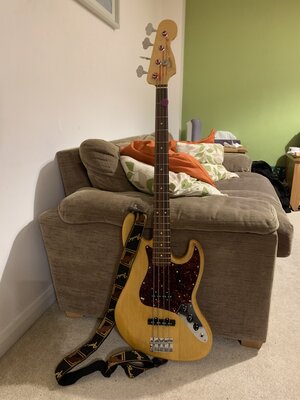
I posted about this a while ago, and some people were interested in the progress, so thought I’d start a thread.
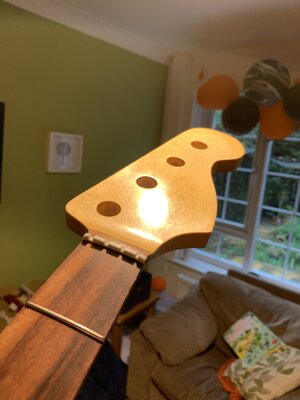
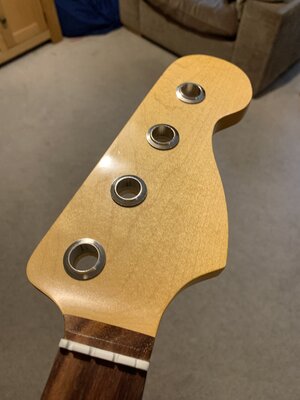
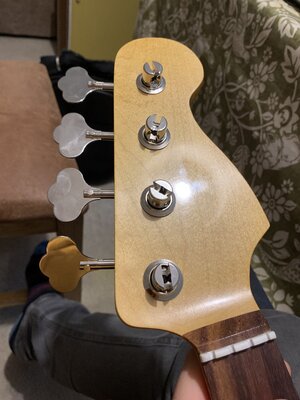
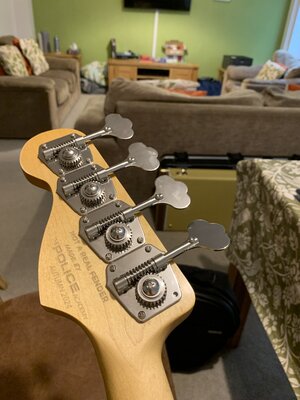
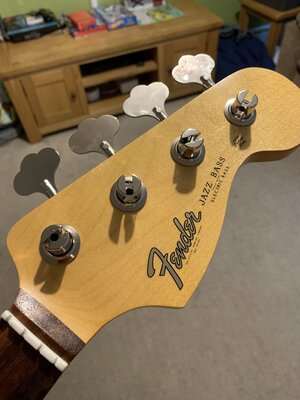
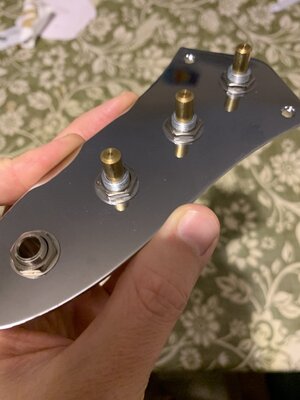
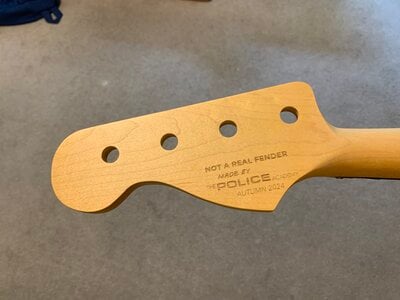
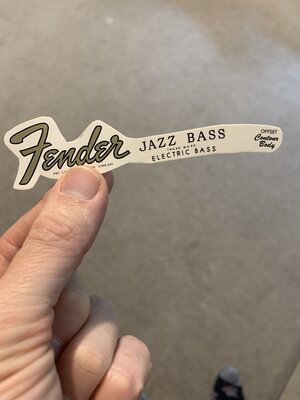
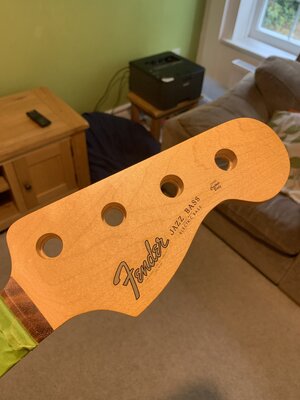
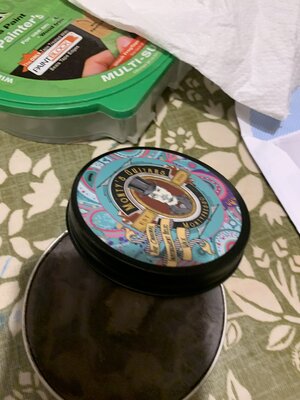
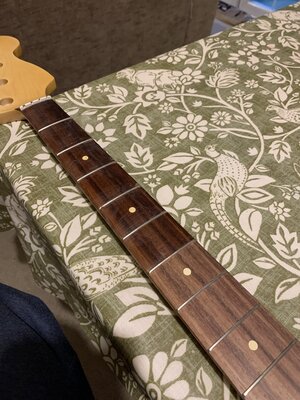
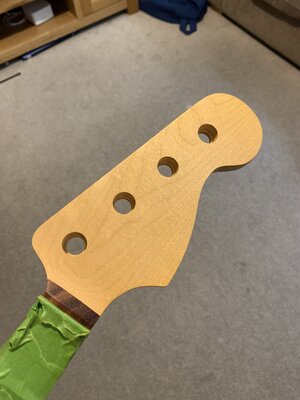
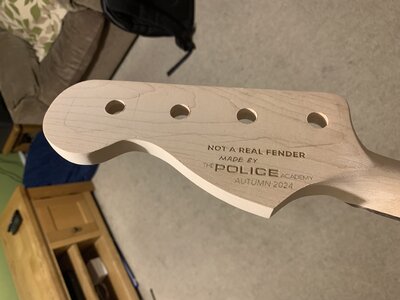
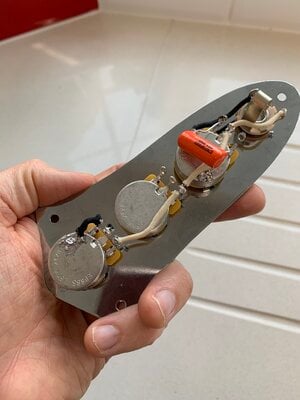
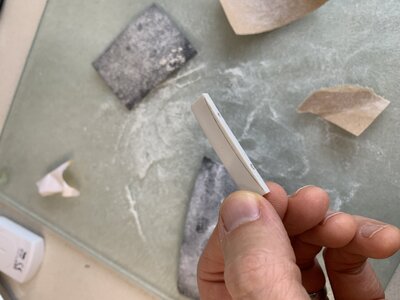
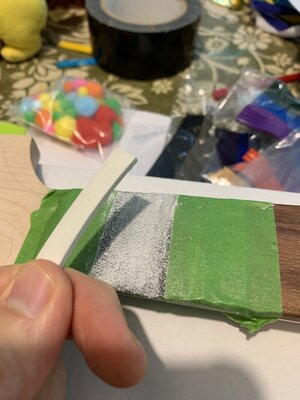
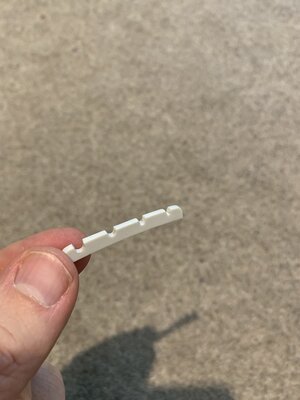
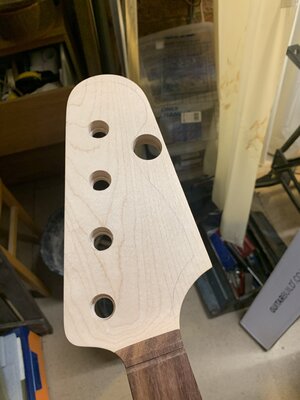
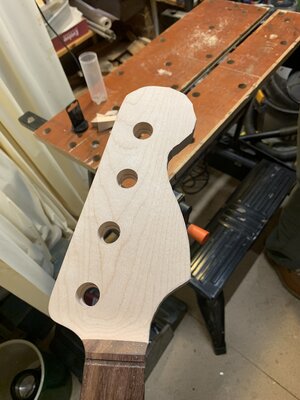
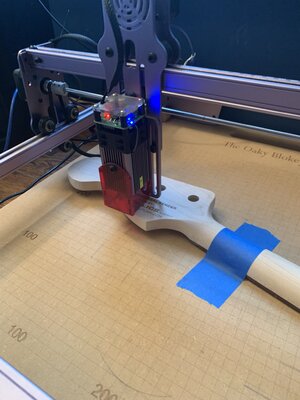
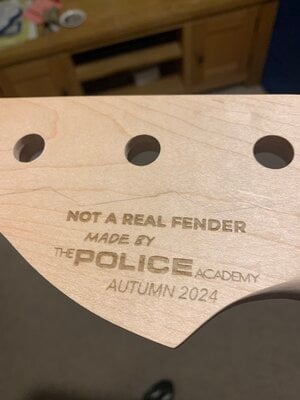
I’ve shaped the nut, loaded up the controls, cut and sanded the headstock, finished it with nitro, and the finish is now hardening for a week or 10 days before I wet sand etc. One bump in the road with the neck is the decal - I applied it after the tinted lacquer, intending to clear coat over it. But, the decal didn’t like the clear nitro, and it bubbled up so I took it off. Which means I’m now doing the more authentic thing of putting the decal on top of the clear coat. The new decal should have arrived by the time I do the wet sanding/buffing. I put some Montypresso relic wax on the fretboard to darken it up, which seems to be working nicely.
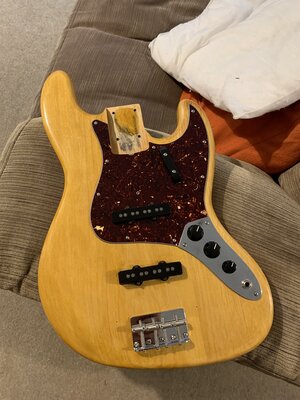
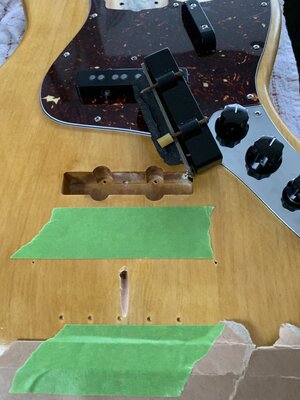
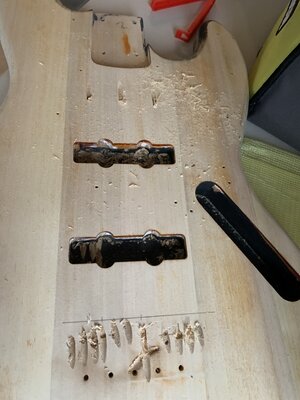
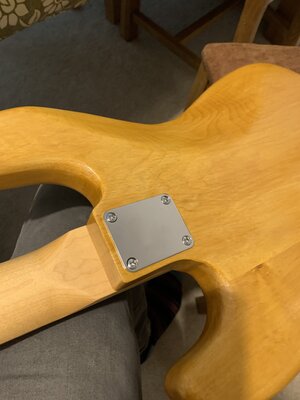
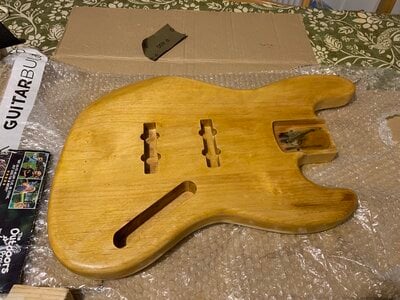
The body has turned out to be more complex than I thought. I got myself some premixed shellac (a ‘button’ one and a clear one), and when I tried them on the test piece (alder) they both too dark. Tried amber nitro too - same. The reason, it turns out, is that Fender bleach their alder bodies. I looked a photos of the Am. Std. Jazz I refinished last year and could see it.
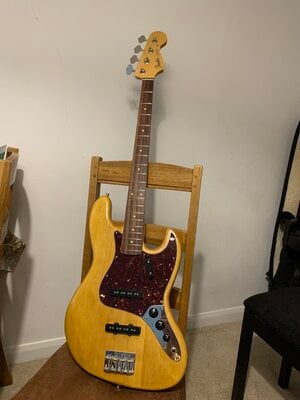
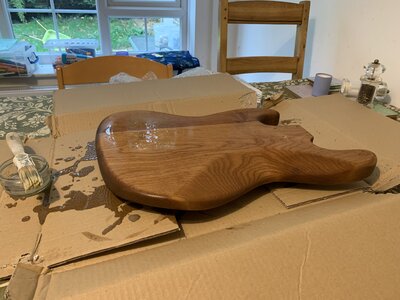
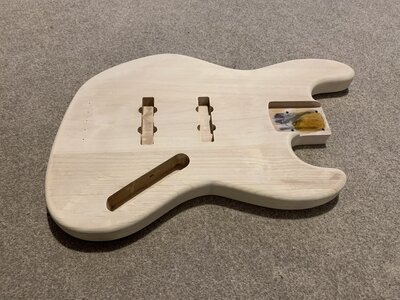
So, got myself some two-part wood bleached, and bleached the body. After that, though, the button shellac turned out to be pretty much the perfect colour (pictures don’t quite do it justice).
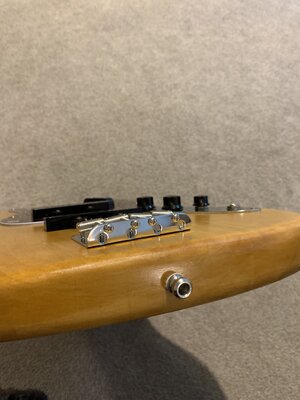
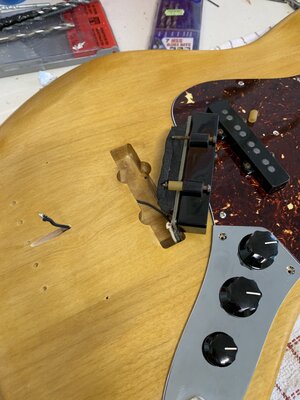
The problem I have now is this… the body is the 1960 type, and it hadn’t occurred to me that this means there is no hole from the bridge to the control cavity for a grounding wire. Sting’s bass was just about built late enough not to have the grounding strip. Not sure what I’m going to do about that yet. Wondering if I can get away without it.
Attachments
-
 IMG_2836.jpeg2.6 MB · Views: 6
 -
 IMG_2867.jpeg3.1 MB · Views: 8
 -
 IMG_2868.jpeg3.2 MB · Views: 8
 -
 IMG_2870.jpeg3.6 MB · Views: 8
 -
 IMG_2873.jpeg3 MB · Views: 6
 -
 IMG_2872.jpeg3.7 MB · Views: 6
 -
 IMG_2876.jpeg3.7 MB · Views: 6
 -
 IMG_2880.jpeg4.2 MB · Views: 7
 -
 IMG_2882.jpeg4.6 MB · Views: 8
 -
 IMG_2866.jpeg3.5 MB · Views: 8
 -
 IMG_2860.jpeg2.8 MB · Views: 8
 -
 IMG_2837.jpeg2.3 MB · Views: 6
 -
 IMG_2839.jpeg3.5 MB · Views: 6
 -
 IMG_2841.jpeg2.9 MB · Views: 6
 -
 IMG_2843.jpeg2.4 MB · Views: 6
 -
 IMG_2845.jpeg3.2 MB · Views: 6
 -
 IMG_2846.jpeg3.5 MB · Views: 5
 -
 IMG_2857.jpeg3.1 MB · Views: 5
 -
 IMG_2858.jpeg2.9 MB · Views: 6
