This build is an assembly build.
I am on vacation and while cleaning the basement this afternoon I found this kit I purchased in 2018 when I started to get into making sawdust. It is a 34" scale flying V. I was going to paint it white with black binding and put in three reverse P pickups. When the kit arrived, it had some...problems. It was missing parts and the CNC machine must have been inebriated. The edge of the body had a big divot. The headstock had misaligned tuner holes and the edges weren't symmetrical, which is kind of important for a Gibson-style flying V. Anyhow, I saw something shiny, it got pushed to the back of a pile, which got covered in other stuff and was finally unearthed today.
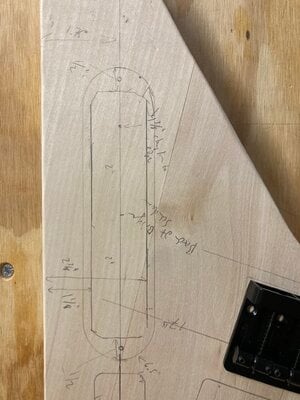
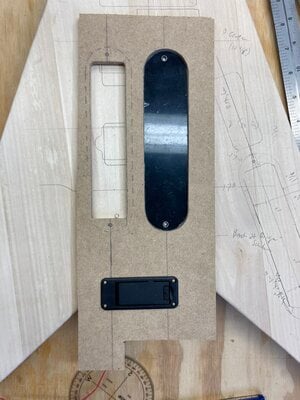
So in order to make my vacation more exciting, I'm going to finish fixing the tuner holes, rout some squares for two EMGs and see what else happens. If I get the routing, drilling and sanding done before the end of next week, there is a good chance I'll be able to finish it. I didn't put the title on the sheet of paper, but can go back and recreate the moment with the title if necessary.
Specs:
Alder body
Maple/rosewood neck (may dye rosewood black and pull frets).
EMG TW pickups with push-pull switches. Not sure if I will run them 18V or 9V and use a master tone or two tones.
Cheap black bridge and other hardware
Hipshot Licensed 3/8 tuners
Not sure about paint, but I'm feeling purple and white now. Spraybombs for sure.
The pile:

The wood putty filled divot that needs to be sanded flush:

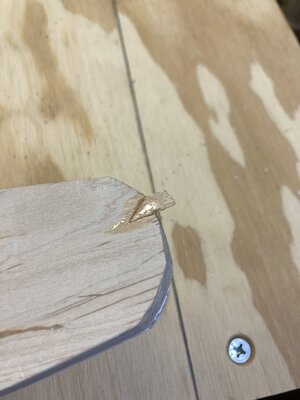
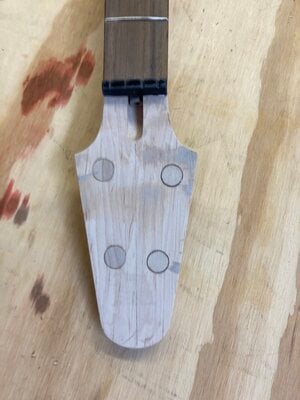
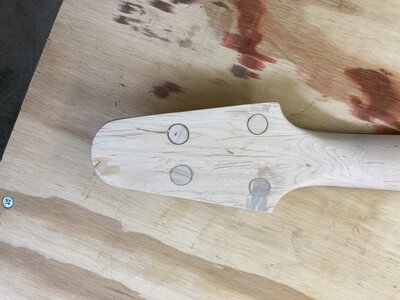
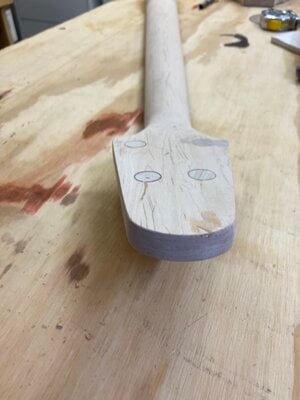
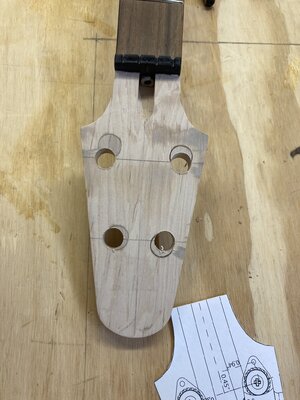
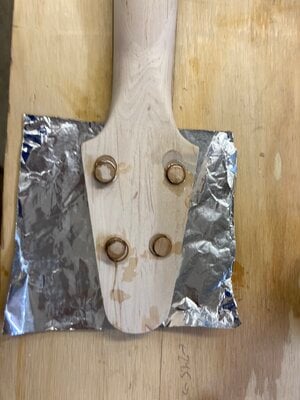
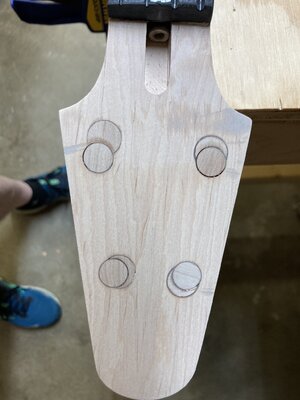
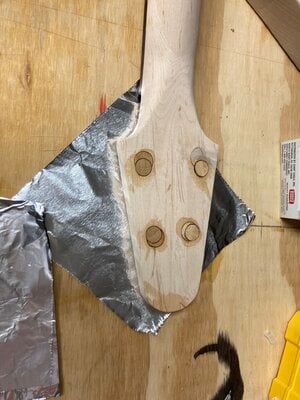
The headstock is unacceptably asymmetric. I filled two the holes with plugs made from maple a long time ago. The grain orientation is kind of in the same as the neck (both are flatsawn). They haven't cracked in the several years they've been epoxied in place. I made some new plugs today using a plug cutter and machining them to the right dimension on my lathe. I did not take pictures of this process because lathes are dangerous.

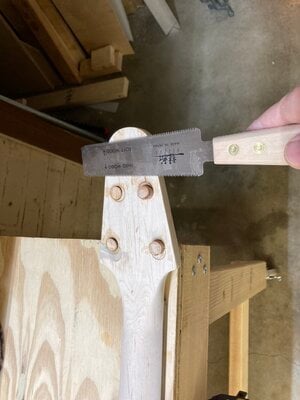
They fit! I'll epoxy them tomorrow and cut them flush to the headstock.

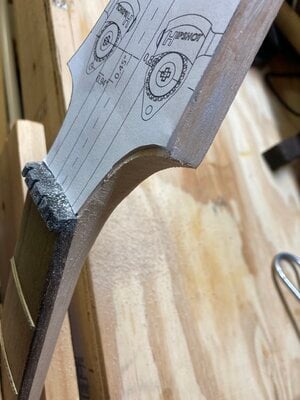
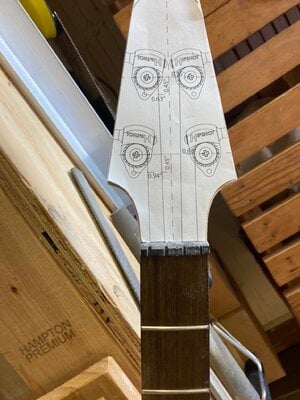
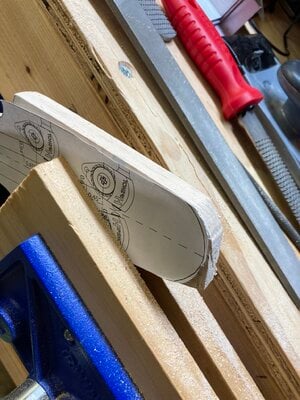
The new headstock design I drew this evening. Unrealistically precise dimensions are great. I'll cut it out and use it as a template for trimming everything to the final dimensions.

I am on vacation and while cleaning the basement this afternoon I found this kit I purchased in 2018 when I started to get into making sawdust. It is a 34" scale flying V. I was going to paint it white with black binding and put in three reverse P pickups. When the kit arrived, it had some...problems. It was missing parts and the CNC machine must have been inebriated. The edge of the body had a big divot. The headstock had misaligned tuner holes and the edges weren't symmetrical, which is kind of important for a Gibson-style flying V. Anyhow, I saw something shiny, it got pushed to the back of a pile, which got covered in other stuff and was finally unearthed today.
So in order to make my vacation more exciting, I'm going to finish fixing the tuner holes, rout some squares for two EMGs and see what else happens. If I get the routing, drilling and sanding done before the end of next week, there is a good chance I'll be able to finish it. I didn't put the title on the sheet of paper, but can go back and recreate the moment with the title if necessary.
Specs:
Alder body
Maple/rosewood neck (may dye rosewood black and pull frets).
EMG TW pickups with push-pull switches. Not sure if I will run them 18V or 9V and use a master tone or two tones.
Cheap black bridge and other hardware
Hipshot Licensed 3/8 tuners
Not sure about paint, but I'm feeling purple and white now. Spraybombs for sure.
The pile:
The wood putty filled divot that needs to be sanded flush:
The headstock is unacceptably asymmetric. I filled two the holes with plugs made from maple a long time ago. The grain orientation is kind of in the same as the neck (both are flatsawn). They haven't cracked in the several years they've been epoxied in place. I made some new plugs today using a plug cutter and machining them to the right dimension on my lathe. I did not take pictures of this process because lathes are dangerous.
They fit! I'll epoxy them tomorrow and cut them flush to the headstock.
The new headstock design I drew this evening. Unrealistically precise dimensions are great. I'll cut it out and use it as a template for trimming everything to the final dimensions.
