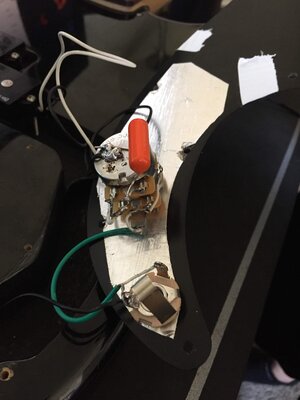
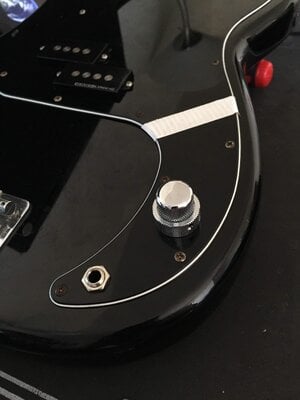
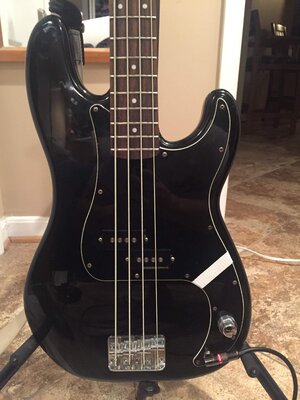
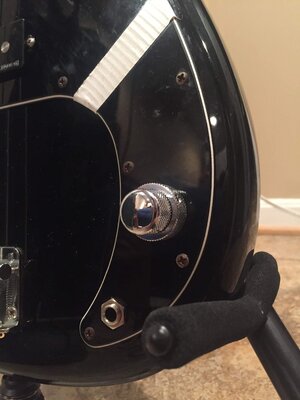
A couple of months ago, I posted a thread asking questions about how I could go about putting a single concentric pot in my P-Bass. Basically, in short, is the gist of what I was trying to do:
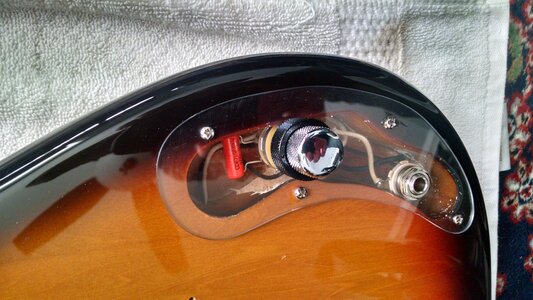
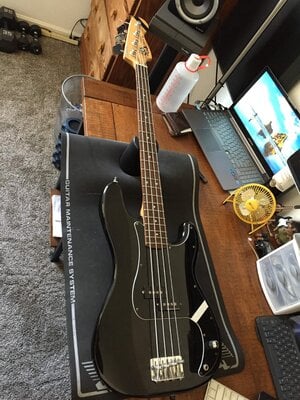
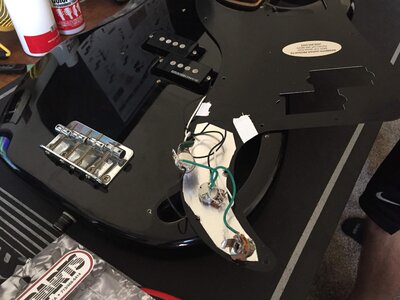
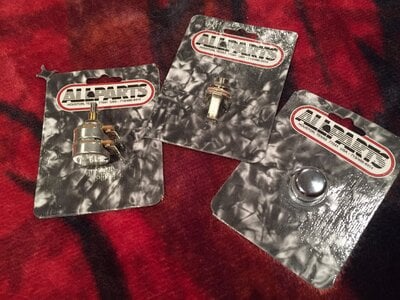
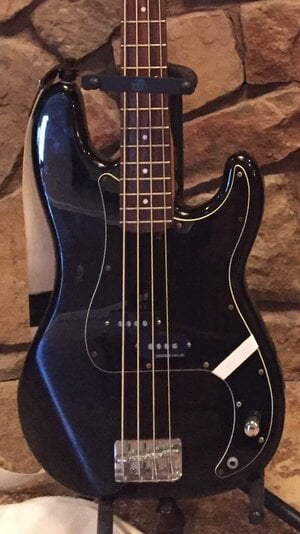
Years ago I took the stock Squier pick ups out of my Affinity P-Bass. I replaced them with SPB-3s. I then thought it would be a cool idea to get a custom pick guard that only had a hole for the volume and the input jack, because I've always loved the look of one-pup/one-knob instruments. I set my tone at 80%-90% and stuck the pot under my pick guard to achieve the look I wanted, and I was very happy. But, I realized (on another forum on TB) that having that loose pot under there isn't good for the wiring and electronics. I didn't want to cut out the tone altogether because that would mean it would be set at 100% and I don't want that. So I got an idea one day to stick a stacked pot on my bass so I can have best of both worlds. After a few months of back and forth, I found the parts I needed, and they arrived last Thursday. They are:
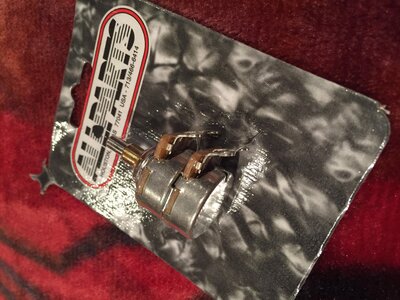
500/500 Concentric Pot
Amazon.com: Allparts EP-4586-000 CTS 500K-500K Concentric Audio Pot: Musical Instruments
Stacked knobs:
Amazon.com: Allparts MK-0137-010 Chrome Concentric Knob: Musical Instruments
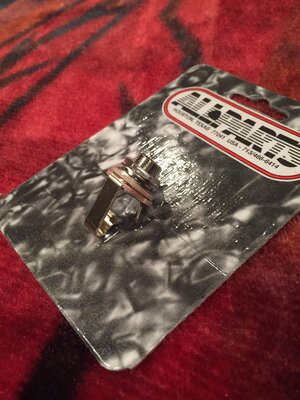
I also picked up a Switchcraft input jack from my local GC.
I'm meeting with a friend this weekend to do a set up/cleanup/shielding of my bass as well as putting these in. I'll end up posting pictures of the process on this thread.
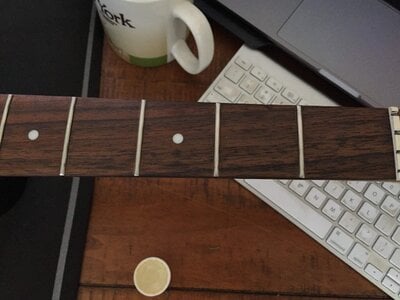
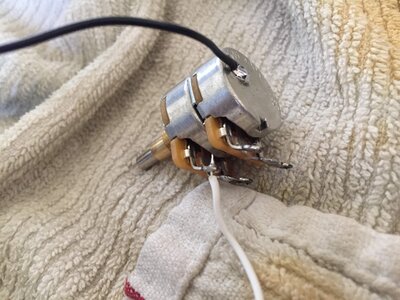
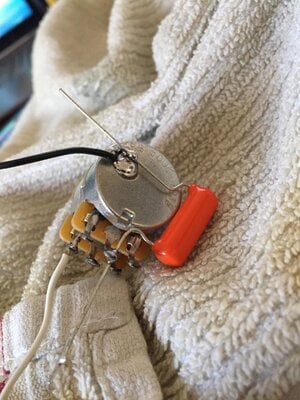
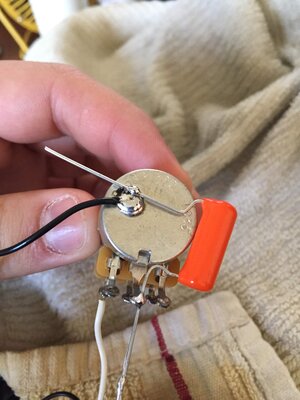
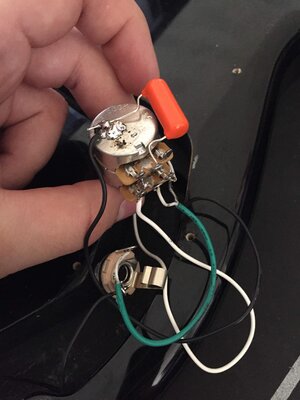
While I trust my friend with everything, this is a bit of a unique project that neither of us have done before. I do have a couple of questions. Will this project require a capacitor? Does the soldering work just like if I had 2 pots? If anyone has done this before, any input or advice would help tremendously. I've also attached some pics as a reference (that white stripe is part of the pick guard, it's not hiding the third hole as many people believe!)


