It creates a little mess, but it's not bad. I'd recommend wearing gloves (of course, you should always wear gloves when painting), but I use these little plastic Mardi Gras cups to spray paint in when and it works fine. The thinness that I was referring to was when you apply it - it won't apply like "normal" paint, it tends to run and drip, so take that into consideration if/when you apply it with a brush, and the standard advice on thin coats being better than thick coats applies. The other thing that you want to watch for is drips/runs as it dries - if you brush it on, try to keep the surface as level as possible.
And yes, the old "rattle can in warm water" trick works great if the environment is cooler/cold, but it +80 degree F temps, it's not needed and can even make things worse, especially if you over shake.
This is excellent advice here. Much of the success for painting is proper surface preparation.
This is what I would do (and have done in the past):
HUGE caveat here is that most of my experience is with oil based poly, but the principles should apply, along with the manufacturer's instructions. I've used water based poly before, just not on guitars.
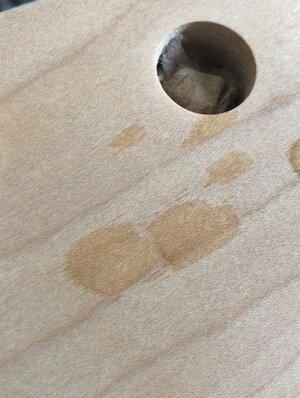
Stri[p it down to bare wood. Sanding is good, sanding plus a chemical solvent is better as the solvent will remove traces of contaminates. After you get down to the bare wood, check the surface like
@Low Main says with a few drops of water. If the water still beads, you still have an issue with the wood surface - most commonly, this is silicon from furniture polish or other wood treatments.
I use naptha to clean the wood, I find that it does a better job than alcohol does, but I don't think alcohol is a bad idea either.
If it's silicon (or even deep soaked grease, oil, etc.), you need fish eye eliminator - something like this -
Fish Eye Eliminator Pint
Keep in mind that if you are brushing a light coat on (which you will need to do with fish eye eliminator) then the dry time is 2 hours - not one.
If the water does not bead, you're good to go. Sand it smooth - since the instructions say 150 grit, I'd go with 150 grit, although I typically use 220 with oil based poly. Just make sure the surface of the wood is smooth to the touch. I would not go any smoother, as the paint needs something physical to adhere to. Poly paints are generally self levelling, so you you don't need an ultra smooth surface on the wood - in fact, it's counter productive.
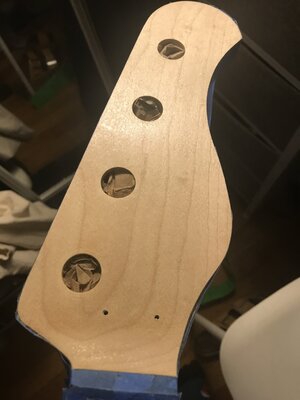
I'd hang the neck so that it is vertical, and then use a smooth motion, keep about 10" away, and mist the headstock starting from the top, slightly overlap. You should be constantly moving, and stop and shake the can every few second. It should only take you a few seconds total to coat the headstock - use smooth motions, and ensure that the paint remains the same distance from the headstock at all times. You should be moving your hand in a straight line, not in a parabola or arc.
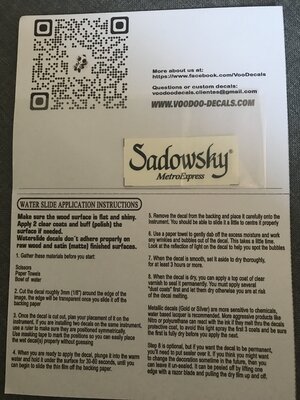
Once you've got a good thin coat, let it dry for an hour. Make sure it's dry to the touch, lightly sand with 220 grit, apply the decal, then recoat as needed until the decal is covered. Let it dry and then sand until you're happy.
In short:
Sand back to bare wood
Test for contaminates
If contaminated, use fish eye eliminator
Coat a light coat, wait one hour lightly sand with 220, coat a light coat again, wait an hour, lightly sand with 220
Apply decal and allow to dry
Apply as many coats as you need (sanding lightly at 220 in between) until you are happy
One last piece of advice - this may not be applicable to this paint, but I have seen this with other rattle can paints - some paints can be sensitive to recoat times - like I mentioned above, you either recoat in 1 hour or you wait the full 24 hours dor it to dry before you recoat. Coating "in between," in like 12 hours, messes with the curing process. Again, I'm not sure if it's applicable with this paint, but I've seen it happen quite a few times with other paint from a can.
Hope this helps!


