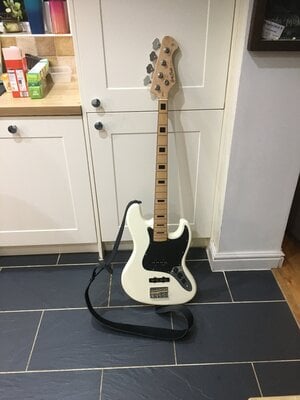
View attachment 7074980
Well, all's done, and very pleased too. Absolutely ecstatic about my first level, crown and polish - sounds like a dentist

- frets really didn't need too much at all taking off, crowned using one of those Baroque files and edged with a music nomad slidey file I borrowed of a guitarist I used to play in a band with. Polished using 0000 steel wool, followed with 400 then 800 grit paper and finally polished on my fake Dremel using some Meguires car polish I had left over from doing my car. Really feels nice now and no buzzing anywhere. Thankfully the nut needed no filing although I had to drop a spot of CA glue to keep it in place as it was a bit sloppy in the groove. Definitely feels a lot nicer than when it had the sharp fret edges.
Unfortunately I can't say the same for my attempt at drilling the bridge ground to control cavity hole. I should have probably researched the method to do this before attempting it. The bits I got were 6" long and I started with a normal bit from the surface under the bridge in the general direction of the cc. drilled really carefully and slowly using the 6" long bit and I can tell you, I was sweating. Finally I had break through. Peered into the control cavity hole to see where it'd come out and there was no sign. With a sickening feeling I turned the body over and yep, I'd drilled through the body

had another attempt and finally got the hole into the control cavity. I DO NOT EVER WANT TO DRILL A BRIDGE GROUND AGAIN and now I understand why most bodies do not have the hole as it's too hard for them to do so they leave it to us muppets

OK I will need to fill and paint the damage but to be honest it's a small thing really in the scheme of things and even that hasn't dampened my feeling of being happy with this little project overall. One day I might change the pickups but am still happy with the Roswells and there is a bewildering array of JB pups out there, so my motto is to quit while I'm ahead
 View attachment 7074988


 had another attempt and finally got the hole into the control cavity. I DO NOT EVER WANT TO DRILL A BRIDGE GROUND AGAIN and now I understand why most bodies do not have the hole as it's too hard for them to do so they leave it to us muppets


